On Friday though I did turn my hand to making a cushion out of some of my recent ebay acquisitions. I decided I wanted a round cushion which would be a little trickier to sew (for me anyway, not for people who can already sew). I am fine with things in my house looking homemade but I also wanted it to look alright and not look like it had been made by a small child and displayed out of parental pride/obligation. So, this is how it went...

- Fabric for the outer cushion
- Fabric for the inner cushion
- Dressmaking scissors
- Coordinating thread
- Extra strong thread (good if it also coordinates)
- Pins and a hand sewing needle
- Covered button
- normal button (or another covered button if you want, I only had 1)
- Yard stick, just to make sure you have an equal ish cushion
- Something to fill the the cushions with. I got 1kg from Dunhelm Mill for 7.99 and used about a quarter of the bag for this.
- Something to draw around if you have it - trickier than I thought it would be to draw a circle


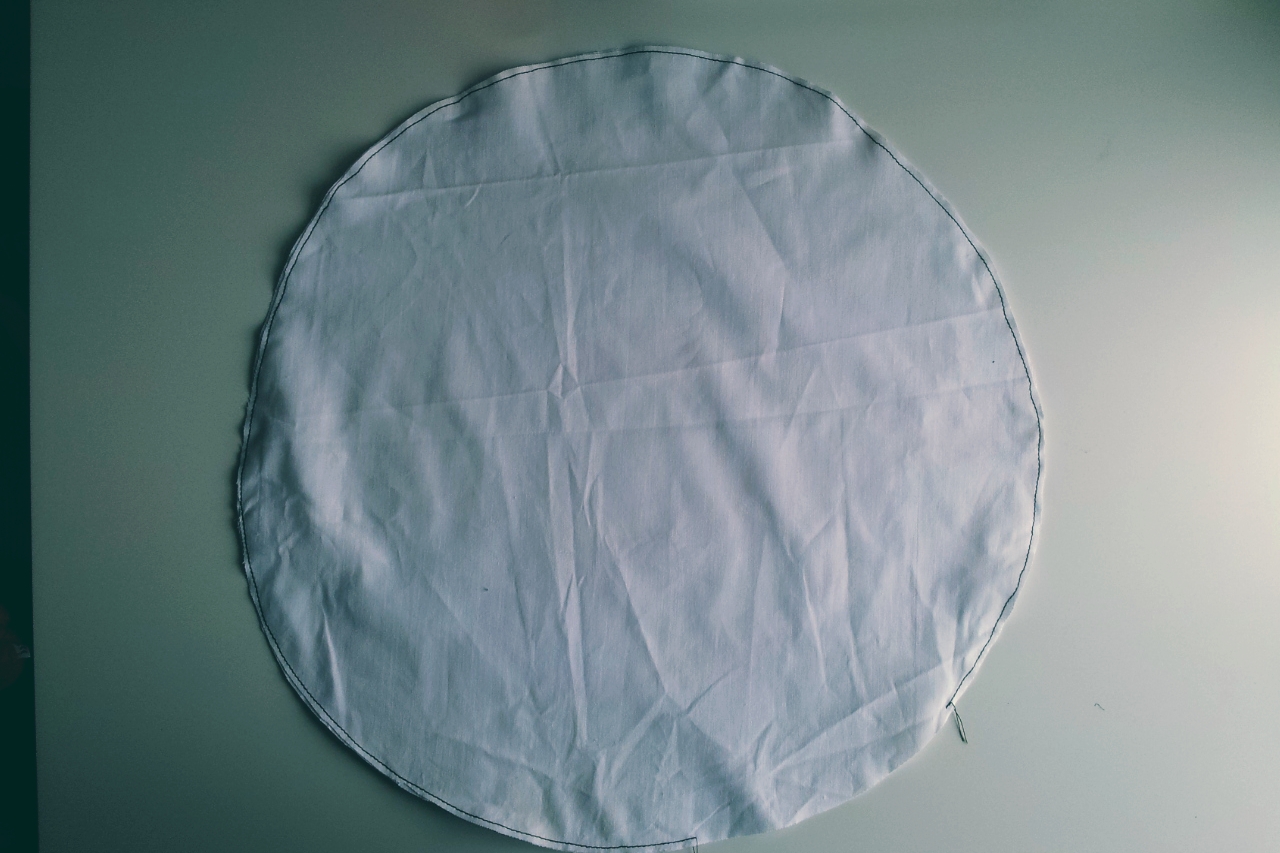

I turned the lining the right way out and stuffed the lining until it was very full. You don't get the effect I wanted if you don't stuff it full. I then stitched up the hole


I then covered the button using the instructions on the packet. It is fiddly but the effect is quite good. I then got a normal button (pictured below) and the covered button, found the centre (ish) of the cushion and began to sew through the cushion, using the extra strong thread to secure both buttons on either side of the cushion. Again, this is a bit fiddly but I really like the results.


LKx
Soundtrack: Eddie Vedder - Guaranteed
No comments:
Post a Comment